


Generate Facebook Pixel Code & Install Facebook Pixel Code On Website
Facebook Pixel Code
Before we start discussion and guide on how to generate Facebook pixel code and then install Facebook pixel code on website, let’s have a clear concept and know the importance of installing Facebook pixel on website.
Facebook pixel code is the tracking code generated from Facebook ad manager for respective ad accounts. Its a script written & installed on website to track the every individual activity on website of a user directed through Facebook ads. There are couple of custom parameter and events which we can track like-
- Page View
- Purchase
- Generate Lead
- Complete Registration
- Add Payment Info
- Add to Cart
- Add to Wishlist
- Initiate Checkout
- Search
- View Content
Now, since you can track every activity of user from your ad campaign, this in itself shout its importance to calculate your campaign ROI.
Let’s take a guide of how to generate Facebook pixel code and install Facebook pixel code on website.
Generate Facebook Pixel Code-
1-Sign in to your Facebook ad manager account. You also can directly follow the link to same page https://www.Facebook.com/adsmanager
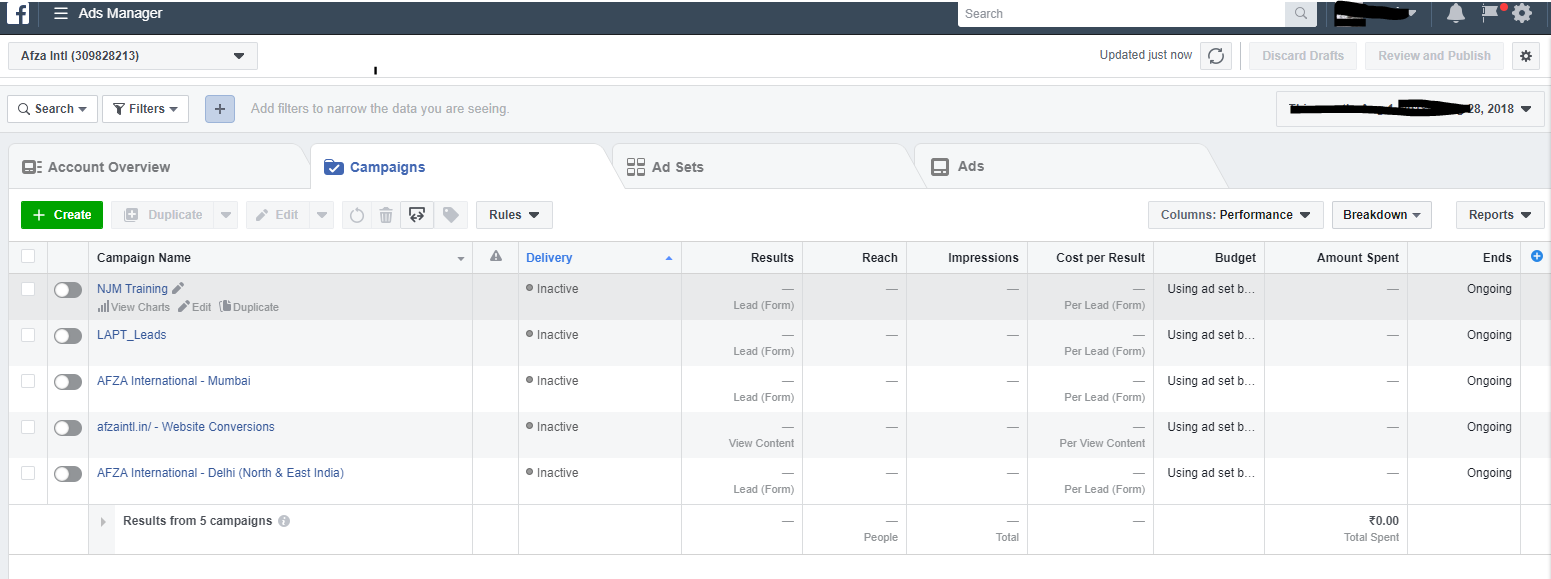
2-You will land on to your ad dashboards where all your ad campaigns would be visible which are designed & structured under your ad account.
3- Click on the navigation bar icon on top left to check the menu options available.
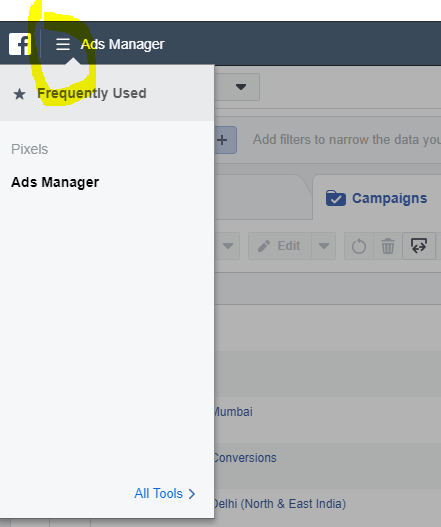
4- Click on all tools option available in drop-down menu at right corner to see all menu option
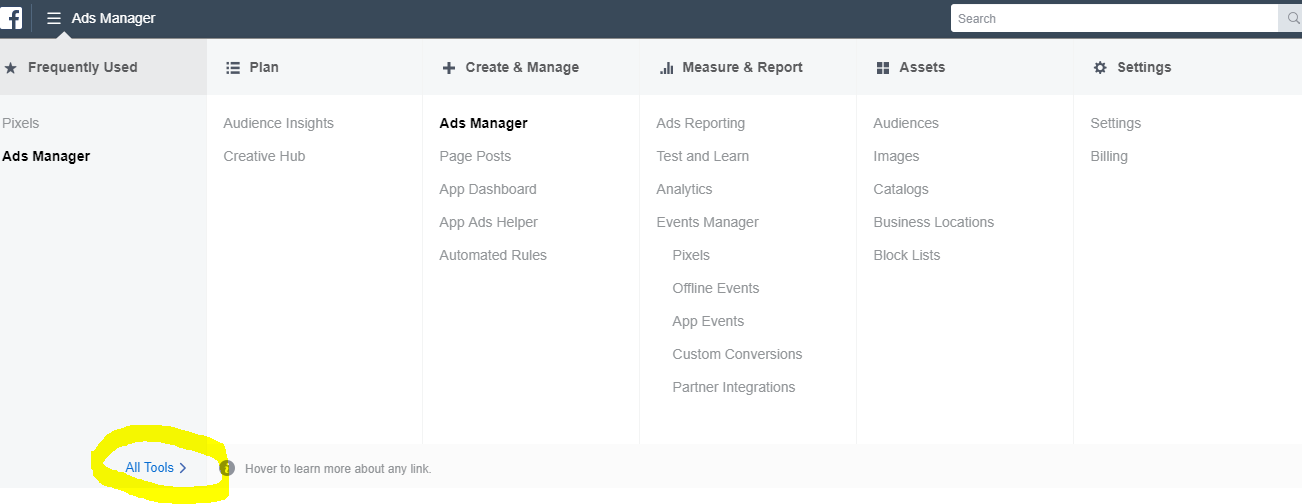
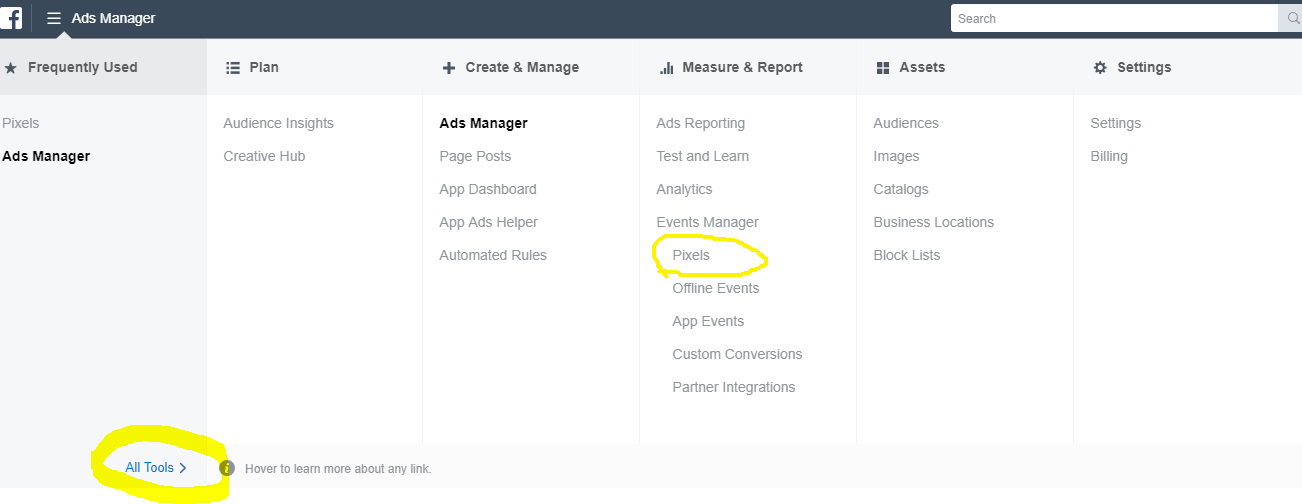
5- Click on pixels, the menu option under Measure & Report. Once you click on this menu, you will land to a page which will ask to you to create a new pixel by giving it a name if this is your first instinct towards pixel & you haven’t created in past.
6- In case you have created in past, you will land to page which will ask you to set up the pixel code.
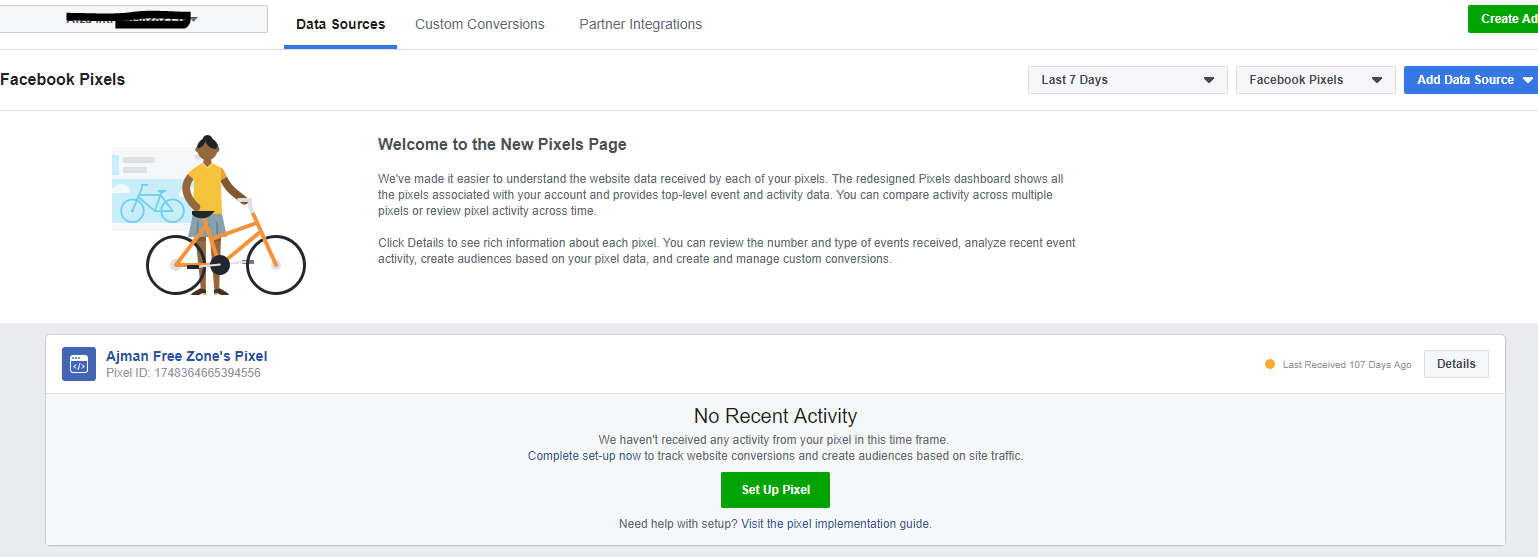
7- Click on set up pixel button, the green button at middle bottom of page. A pop up window will appear.

8- There are 3 options available for your convenience. Now for detail tutorial, I am considering the option 2 (manually install the code yourself). For this you must have your website login details for complete guide on how to install Facebook pixel code on website.
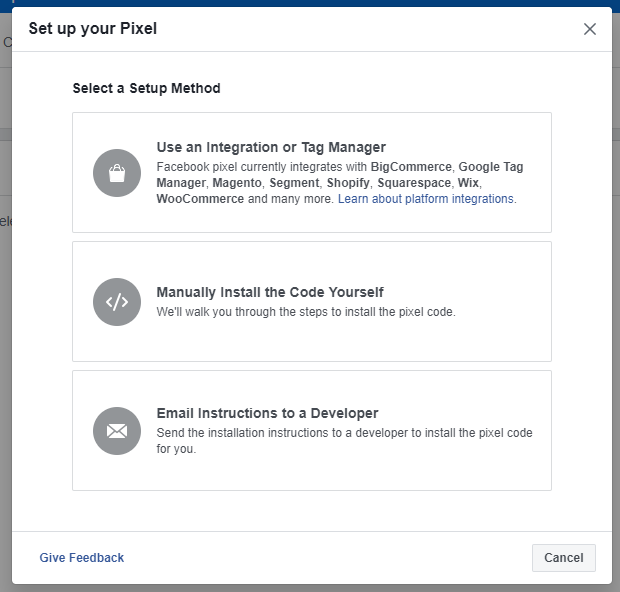
9- Once you click on the second option, the pop up window will continue you to the installation guide and your Facebook Pixel Code.
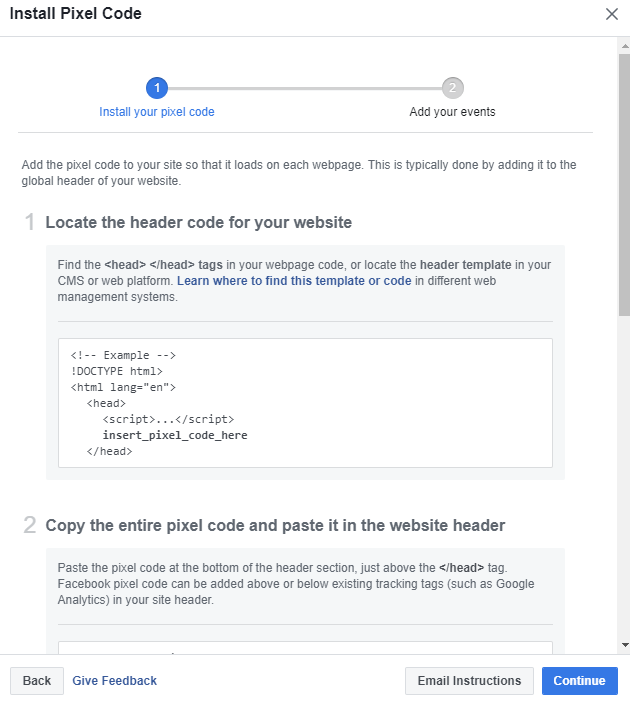
10- Facebook highly recommends to install Facebook Pixel code only in head tag of your website. For your guidance, the head tag is visible like
<!– Example –>
!DOCTYPE html>
<html lang=”en”>
<head>
<script>…</script>
insert_pixel_code_here
</head>
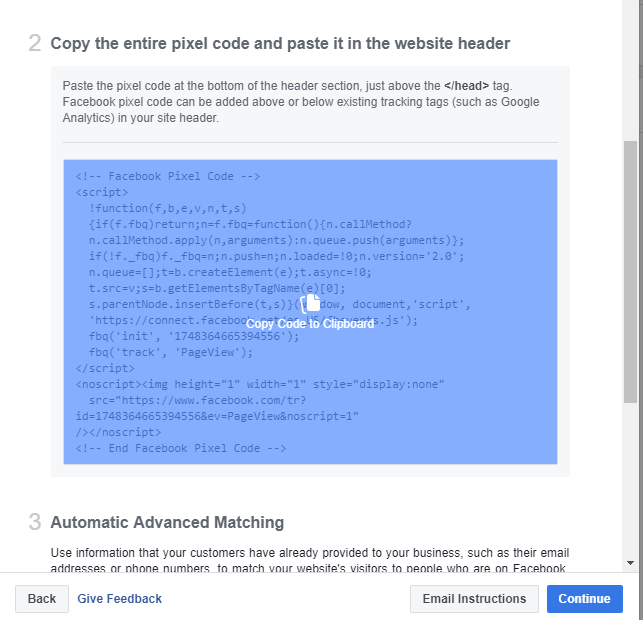
11- To copy your pixel code, just bring your cursor on written codes and it automatically will ask you to click for copying the code. Simply, click on it.
12- The third option is to mail the complete guide to your developer in case you are not friendly to do website changes.
Else, just copy the code & click on continue button and you will be provided with list of events you can track. Enable options as per your need.
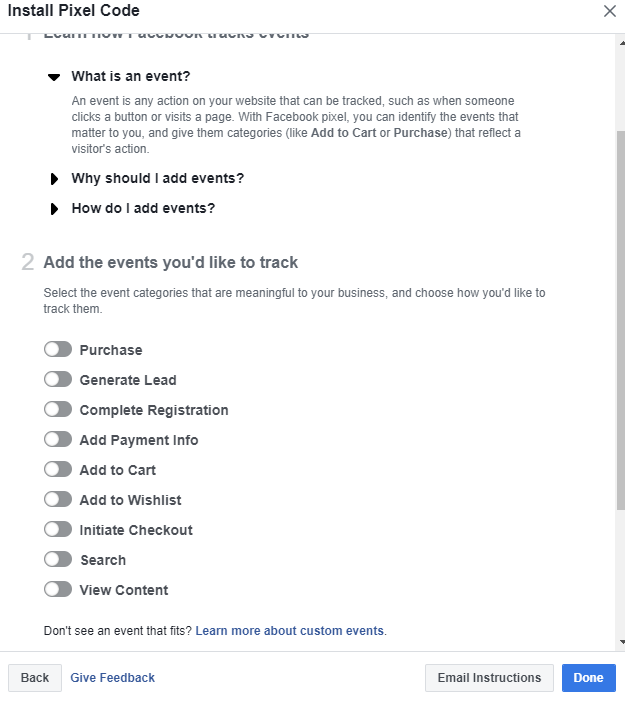
13- Once you have submitted your required info & criteria to panel, click on button named as Done.
How to install Facebook Pixel on Website-
This is the final step of your website, wherein you just need to locate the head tag of your website. Once you located the same, simply paste the entire copied code & update the page on root server. Refresh your website.
Wish, this was an easy & compatible journey for you to generate the Facebook pixel code and also install the Facebook pixel code on website. Please do leave your feedback in comments.
Happy Advertising!


One thought on “Install Facebook Pixel Code on Website”